
Originally Posted On: https://www.theboxery.com/blog/how-to-seal-and-label-polythene-mailing-bags-for-weatherproof-shipping/
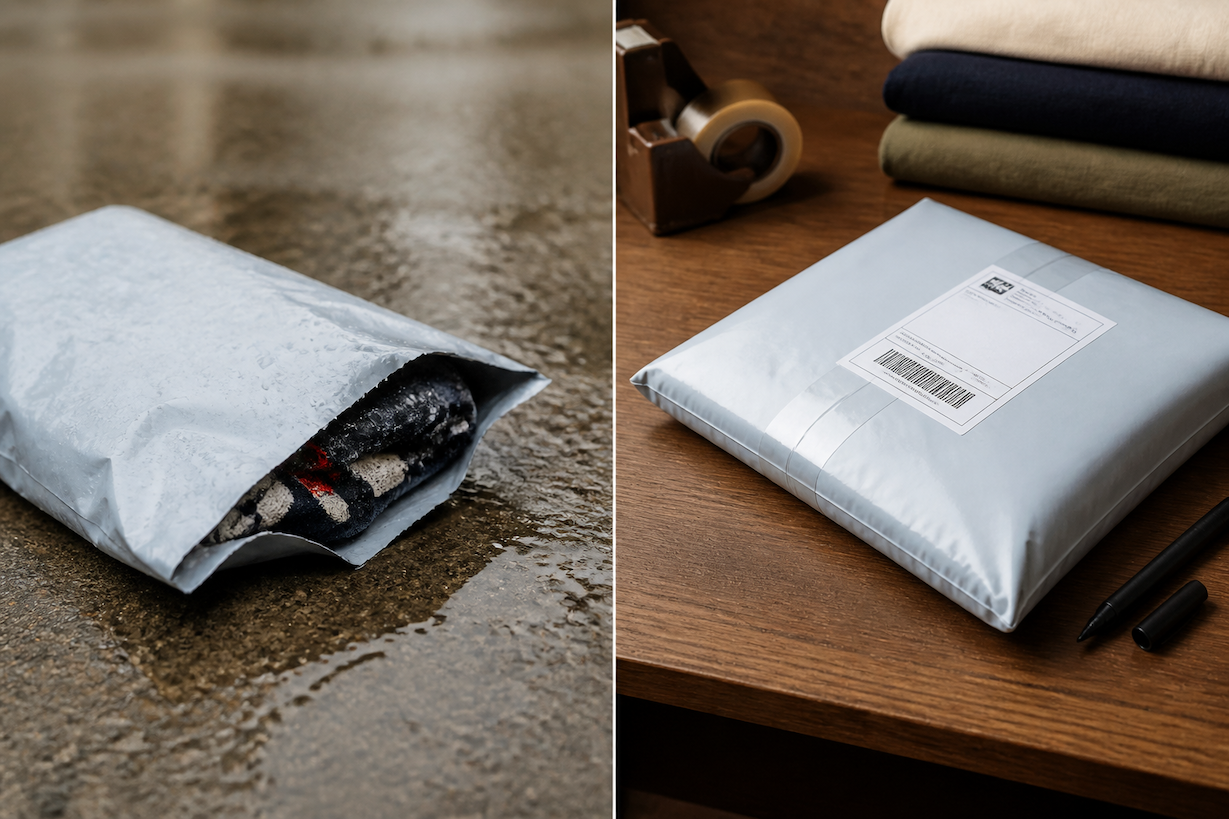
A soggy label and a split seam can turn a $30 sweater into a customer service headache. Rain doesn’t care about your shipping schedule, and neither does a delivery truck packed shoulder to shoulder with parcels for eight hours. That’s exactly why polythene mailing bags have become the go-to for apparel sellers — they’re light, they’re cheap, and they shrug off moisture in a way cardboard never will. But here’s the thing: a poly mailer only works as well as its seal.
Slap a label on crooked or skip the reinforcement step, and you’ve basically shipped a garbage bag with a shirt in it. Sellers who ship 50 orders a week can’t afford that failure rate — one bad review about a soaked package spreads fast. This walkthrough gets specific: sizing, sealing, reinforcing, and labeling a polythene mailer so it survives rain, rough handling, and a cross-country truck ride without opening.
What You’ll Build and What You Need Before You Start
Picture this: a rainstorm hits the loading dock right as you’re stacking apparel orders for pickup, and half the shipments haven’t been sealed yet. That’s the moment you find out whether your packaging actually holds up. Getting polythene mailing bags weatherproof isn’t complicated, but it does require the right supplies laid out before you touch a single order.
Materials Checklist: Poly Mailers, Tape, Labels, and a Sealing Surface
Grab these before you start:
-
Poly mailers — sized close to the product; clothes and soft goods rarely need extra room
-
2-inch packing tape — clear, pressure-sensitive, not household tape
-
Printed shipping labels — thermal or laser, not handwritten
-
A flat, dry surface — a table beats a warehouse floor every time
-
Scissors or a box cutter for trimming excess film
If you’re shipping rolled items like posters alongside apparel, keep mailing tubes nearby too — they need separate sealing treatment. Once these are staged, the actual sealing process moves fast.
Step 1: Choose the Right Size Polythene Mailing Bag for Your Product
Wrong size, ruined shipment. That’s the blunt truth most sellers learn after a few crushed returns. A bag that’s too big lets clothes shift and bunch at the bottom, and a bag that’s too tight strains the seal and splits at the seams — right when it’s raining outside. For folded shirts or lightweight soft goods, leave about 2 inches of slack on each side so you can fold the top over twice before sealing. Buying in volume? wholesale polythene bags come in graduated sizes (think #2 through #6) so you’re not stuck rounding up to whatever’s in the closet.
Matching Bag Size to Clothing, Soft Goods, and Small Parcels
Jeans and hoodies need roomier bags than tees or accessories — measure the folded garment flat, then add an inch of breathing room. Small parcels like jewelry or phone cases do fine in narrow sizes that keep dimensional weight charges low. If you’re building brand identity, colorful shipping bags help your packages stand out in a mail bin full of plain brown and clear poly.
Step 2: Pack and Position Your Item for a Weatherproof Seal
Ever notice how a perfectly good bag still lets moisture in? It’s almost never the plastic — it’s how the item sits inside it. Push your clothing or soft goods flat against the bottom seam first, squeezing out extra air as you go. Air pockets create bulges that stress the seal and leave gaps where rain can creep in during transit.
Leave about 2 inches of clear space at the top before you fold anything over. That gap gives the adhesive strip room to bond to itself, not to your product. If you’re using standard mailing bags, fold the excess film down once, then again, so the seal sits flat rather than puckered at the corners — puckered corners are where water finds its way in nine times out of ten. For bulkier items, size up rather than force a tight fit; a stretched bag thins out at the seams and tears. Businesses stocking poly bags for shipping in bulk should keep a couple of sizes on hand so nothing gets crammed. Once positioned correctly, the bag lies flat, the seal has clean contact, and you’re ready for tape or the adhesive strip.
Step 3: Seal the Self-Adhesive Strip Correctly (and Reinforce It)
About 30% of returned poly mailer damage claims trace back to one thing: a peel-and-seal strip that never got firm pressure. Peel the liner off in one clean pull — don’t tug it into three pieces — then fold the flap down — run your thumb or a hard edge (a ruler works) across the seal twice. Body heat and friction actually help the adhesive bond, so don’t rush this. For anything heavier than a T-shirt or headed for a rough freight leg, add 2-inch packing tape over the factory strip. This matters more than sellers think when they’re buying poly bags in bulk — one weak seal on a wholesale order of 500 units means 500 potential support tickets. Retailers and warehouses shipping poly bags at volume should spot-check every tenth bag before boxing them for outbound trucks.
If This Goes Wrong: Fixing a Bag That Won’t Stick or Reopens in Transit
Adhesive won’t grab in cold storage below 50°F — warm the strip briefly with your hands. If a seal already reopened, don’t re-peel it. Just tape over the whole flap, edge to edge.
Step 4: Print and Apply a Shipping Label That Survives Rain and Handling
Here’s a myth worth killing: a regular inkjet label slapped on plastic will hold up fine in transit. It won’t. Poly film flexes, sweats with condensation, and rubs against sorting equipment for days — and standard labels smear, peel, or fade before they ever reach the customer. If you’re shipping in bulk on Shipping bags, a failed label means a lost package, and that cost lands on you, not the carrier.
Use a thermal label printer with direct-thermal labels rated for moisture resistance — they don’t use ink, so there’s nothing to smudge. Apply the label to a flat section of the bag, smoothing out air bubbles with your thumb before pressing firmly along the edges. For large poly mailer bags, center the label away from seams and the seal strip so scanners get a clean read. A strip of clear packing tape over the label adds real insurance against rain and scuffing. Skip that step, and you’re gambling with delivery.
Step 5: Test Your Seal and Recap Before You Ship in Bulk
Picture this: a seller tapes up 300 polythene mailing bags on a Sunday night, ships them Monday, and by Thursday five come back with the adhesive strip peeled loose from humidity in the truck. That’s the kind of mistake a quick seal test catches before it costs you returns and refunds. Grab three finished bags from your batch and run them through a stress check — squeeze the seams, drop one from waist height, and press a wet cloth against the seal for ten seconds to mimic rain exposure.
If the seal holds under all three, you’re clear to run production. Before boxing up your poly mailer bags for the day’s shipment, double-check that labels sit flat and the tear strip isn’t blocked by tape. Sellers running multiple product lines often switch to colored poly mailer bags so warehouse staff can sort orders by color at a glance — a small trick that cuts mispacks. Recap your process every 50 bags or so; consistency matters more than speed.
Recap & Next Steps
You’ve picked the right size polythene mailing bag, sealed the adhesive strip with a reinforcing strip of tape, and printed a label that won’t smear if it gets rained on. That’s the whole job — a bag that stays shut and stays readable from your door to the customer’s mailbox.
Before you run a full batch, do one more thing: seal five bags, toss them in a bucket of water for ten minutes, and check the seams. If even one leaks, adjust your tape placement before you commit to bulk shipping.
-
Test your custom branding: if you’re moving to printed or colored mailers for a cleaner unboxing look, run a small trial order before switching your whole workflow.
-
Compare mailer weights: if you’re shipping heavier apparel bundles, check whether a poly bubble mailer makes more sense than a standard poly bag.
-
Rework your label workflow: pair this sealing method with a thermal printer setup so labels don’t smudge in humid warehouses.
-
Recalculate shipping costs: weigh a few sealed, labeled bags and confirm your postage estimates still match what you’re actually paying per shipment.
Five minutes of care at the sealing table is what separates a mailer that survives a rainy porch drop-off from one that shows up split open with a soggy return address. Get the size right first — a bag that’s too loose lets the item shift — stressing the seams, while a snug fit keeps the adhesive strip doing its actual job. Press the self-adhesive strip along a hard, flat surface (not against your knee), and don’t skip the folded-corner reinforcement on heavier items. That extra strip of tape costs almost nothing and prevents the one-in-fifty failure that turns into a refund. Labels matter just as much as the seal itself: printed ink smears in wet conditions, so a protective sleeve or laminated label isn’t optional if you’re shipping through fall and winter. Before running a full batch of polythene mailing bags through your process, test a handful with water and a drop test. It takes ten minutes and saves you from a bad review three days later. Once your seal method checks out, standardize it, write it down, and train anyone else who packs orders to follow the exact same steps — every time.


